Ionic 4 Framework with API Calls Part (2)

Previously we learned how to call APIs and how to pass parameters with the API call. In this tutorial, we will learn about how to filter data using the search bar and load selected data into another page with an example.
Let’s Go
In here, I am focusing on these features.
- Filter data using Search Bar.
- Load more details on the selected data
I will show how to implement these functionalities using my Music Application.
Filter data using Search Bar
First, create a new Page component called Search using this command.
>ionic g page serviceThen add this code segment to create a search bar.
<ion-header>
  <ion-toolbar>
    <ion-title>Search Music Tracks</ion-title>
  </ion-toolbar>
</ion-header>

<ion-content>
  <!-- Searchbar with a custom debounce -->
  <!-- Animated Searchbar -->

  <ion-searchbar animated [(ngModel)]="searchName" (keyup)="searchMusicTrack($event)"></ion-searchbar>

</ion-content>
If you want to change the UI of the Search Bar please use Ionic documentation.
We need to get the search word and pass it to API and get the response. For that, I am calling a method searchMusicTrack with the event. Now implement the method searchMusicTrack() in the search.page.ts.
// search tracks with the search name
  searchMusicTrack(key: any) {
    this.searchName  = key.target.value;
    // tslint:disable-next-line:triple-equals
    if (this.searchName == '') {
      this.userService.getMusicTrackByName("a").subscribe( res => {
        this.items = res.results.trackmatches.track;
        this.itemId = res.results.mbid;
        console.log(this.items);
      });
    } else {
      this.userService.getMusicTrackByName(this.searchName).subscribe( res => {
        this.items = res.results.trackmatches.track;
        this.itemId = res.results.mbid;
        console.log(this.items);
      });
    }
}“searchName” is the word that the User type in the Search Bar and we can get that name by using key.target.value .
When we load the application, the search bar does not have a key value. So that we need to load all music tracks when the search Page is loading. For that, I have implemented a method in OnInit method. Now All music track starts with “A” letter will load at the first starts of the search Page.
ngOnInit() {
  // search tracks if the search bar is empty
  this.userService.getMusicTrackByName('a').subscribe( res => {
    this.items = res.results.trackmatches.track;
    this.itemId = res.results.mbid;
    console.log(this.items);
  });
}
Now create a service called getMusicTrackByName() and pass searchName as the parameter.
getMusicTrackByName(name: string) {
    const url = this.baseUrl + '?method=track.search&track=' + name + '&api_key=' + this.apiKey + '&format=json';
    return this.http.get(url).pipe(map((res: any) => {
        return res;
    }));
}
Now this will send a GET request to the LastFm API and assign the response to the res variable and pass it to the calling function getMusicTrackByName(searchName). In search.page.ts we can assign that response to any type of variable called items. We need music track ids to implement the second function. So keep them safe. Now iterate the items in items list using ion-card in the search.page.html file. Add this code segment.
<ion-card *ngFor="let item of items">
  <ion-card-header>
    <ion-card-subtitle>{{item.name}}</ion-card-subtitle>
    <ion-card-title>{{item.artist}}</ion-card-title>
  </ion-card-header>
  <img [src]="item.image[2]['#text']">
  <ion-button color="primary" (click)="viewMore(item.artist, item.name)">View More</ion-button>

</ion-card>
Now run the app. Then enter this URL in your browser.
http://localhost:8100/searchNow you will get a screen like this.
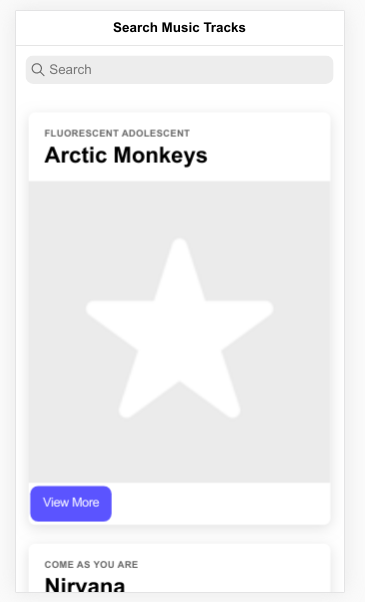
Now type your favorite song name on the search Bar.
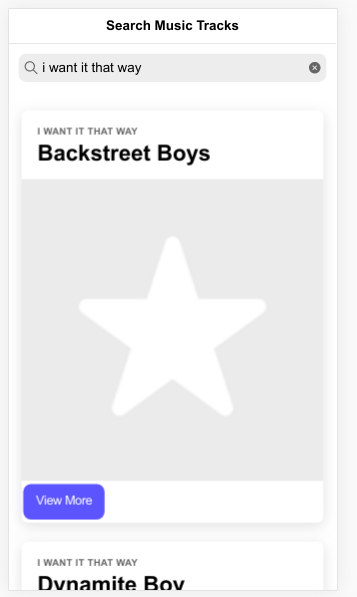
Congratulations! You almost completed the first functionality.
Let’s move on to the next function.
Load more details on the selected data
Now I am going to implement the view more details page. When user clicks this View More button it will redirect to another page called “track”. Now create a page using the terminal.
>ionic g page trackNow we need to create a specific common layout to show specific selected Music Track. I have added ion-card with an image to show. Add this code segment to the track.page.html.
<ion-header>
  <ion-toolbar>
    <ion-title>{{trackName}}</ion-title>
  </ion-toolbar>
</ion-header>

<ion-content>
  <ion-card>

    <ion-card>
      <img src="{{image}}" />
      <ion-card-header>
        <ion-card-title>{{title}}</ion-card-title>
        <ion-card-subtitle>{{artsist}}</ion-card-subtitle>
        <ion-card-subtitle>({{published}})</ion-card-subtitle>
      </ion-card-header>
      <ion-card-content>
    {{wiki}}
      </ion-card-content>
    </ion-card>
  </ion-card>
</ion-content>
Now create a method to the button click. Once the user clicks the view more button it will redirect to the track page. For that, I need to pass parameters including the track details. Use “router.navigate” function to navigate with parameters.
viewMore(artist: any, trackName: any) {
    const param = { artistName : artist , track: trackName };
    this.router.navigate(['track', param]);


}
You need to import angular/router in order to navigate to another page.
Now run the Application. You have already completed the whole functionalities.
Now track page looks like this.
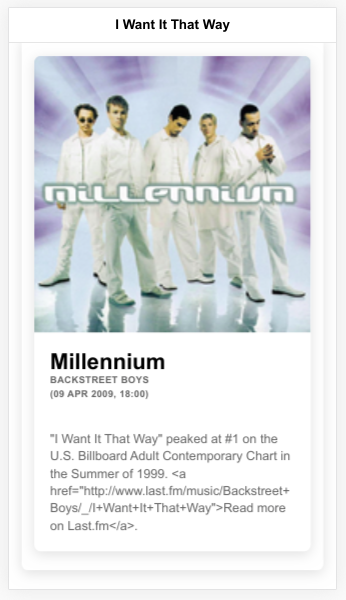
You can find the work we did in this tutorial in the below git repository.
Thank You!